Our team at ARC Insulation wants to help you protect your property from mold, and we offer a wide range of services to do that. For example, we offer professional mold inspection services to help you identify mold as early as possible and get rid of it before it can spread. While our mold inspections are immensely helpful in identifying the presence of mold and steps to prevent mold growth, you can increase their effectiveness by performing your own visual mold inspections in between. In this article, we’ll provide instructions for how to do a basic mold inspection on your own.
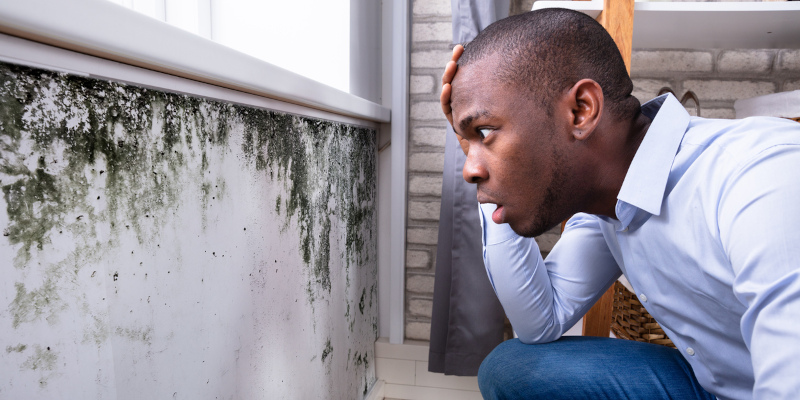
- Check for Visible Colonies – Before you perform a mold inspection, familiarize yourself with what mold looks like. The most common type of mold begins as black spots, which later grow into larger colonies. Once you know what to look for, check all the visible areas of your building for tell-tale signs of an infestation.
- Check Hard-to-Reach Areas – Once you’ve checked all the easily visible areas, move onto the next step of the mold inspection process: checking all the areas that are out of the way. We recommend checking under your sinks, inside cabinets, and around your exterior. Pay particular attention to any areas that are poorly lit or prone to moisture issues, such as the basement or bathroom.
- Perform a Simple Test – When performing your mold inspection, you can perform a simple test to determine whether you’re looking at mold or dirt. Make a solution of diluted bleach, then dab that solution on the surface in question, without rubbing it in. If the dark spot lightens up right away, it’s mold, but if it remains dark, then it’s dirt.
If your DIY inspection reveals signs of mold, we encourage you to give us a call right away to get a more thorough inspection, as well as the removal services you need.


